Screen printing my chameleon
The stencil for my chameleon design (see last blog) is ready, and I can finally start screen printing. In this post, I’ll walk you in detail through my printing process, which takes place right in my kitchen.
And please bear with me. My thoughts keep wondering off from time to time, so I might jump a little around from one topic to another in my writing. I still hope everything will make sense and I didn´t make things sound too complicated.
Let’s start with an overview of what I need.
1. Printing board with clamps
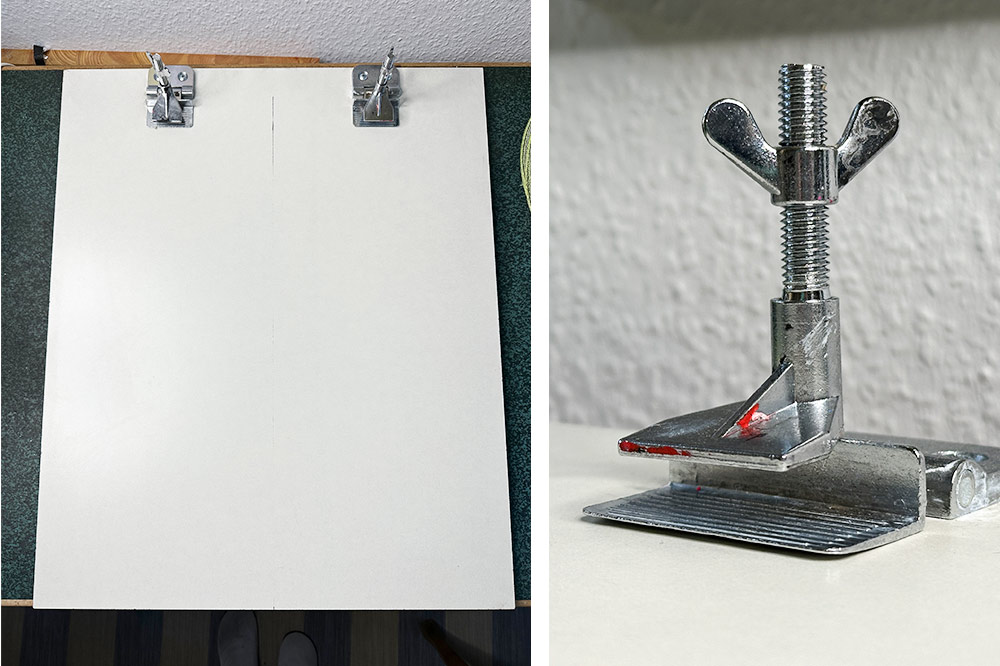
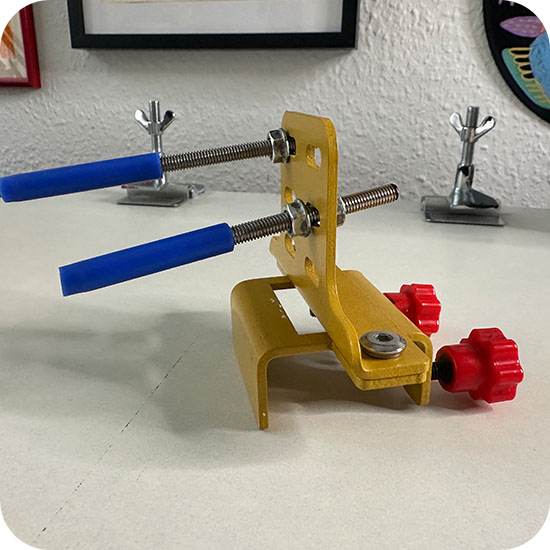
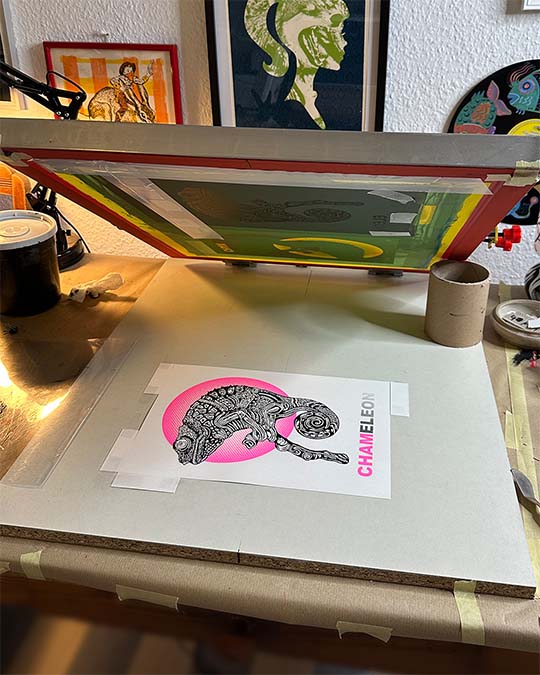
For printing on paper I use a wooden board that my local hardware store cut for me to 55 cm x 67 cm and about 2 cm thick. It’s heavy enough to stay put while printing but still light enough to store away easily. If needed, you can clamp it to the table for extra stability.
The board is big enough to mount an A3+ screen (61 cm x 51 cm). To hold the screen in place, I drilled in two hinge clamps, allowing me to lift the screen up and down while keeping it aligned.
This setup is budget-friendly and great for beginners like me.
2. What else do I need for printing?
besides my screen with the stencil and my printing board?
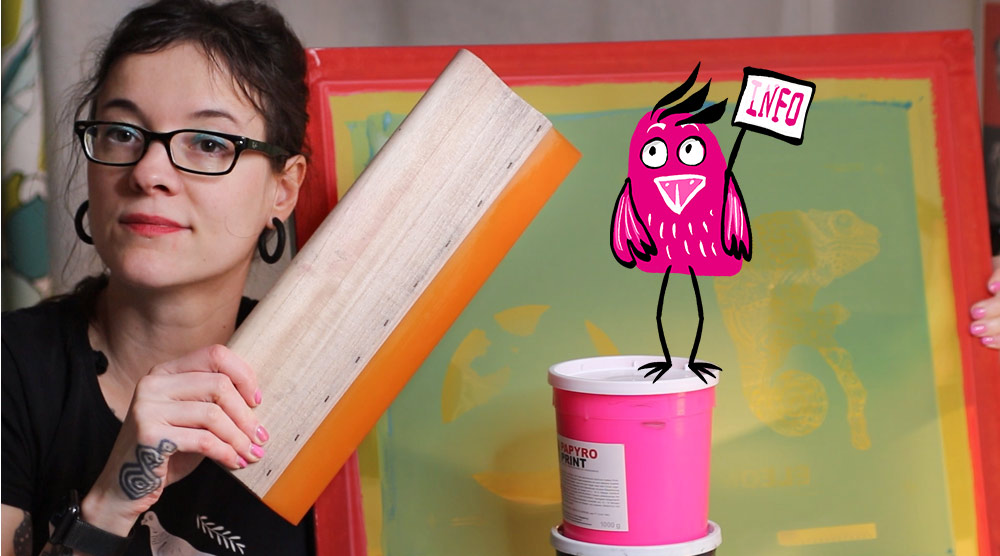
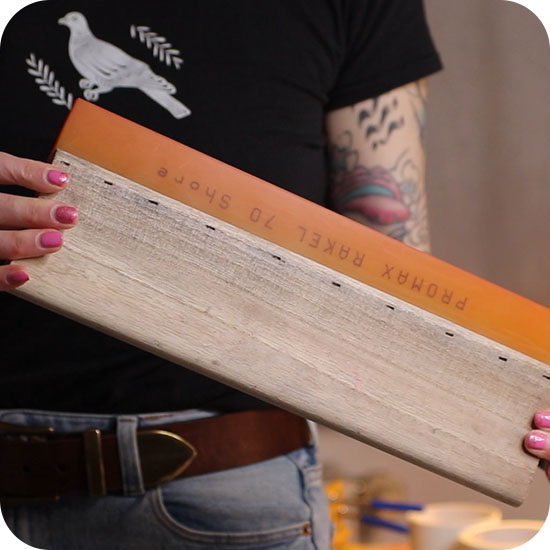
• Squeegee (shore 70): rubber-bladed tool to press the ink through the screen mesh
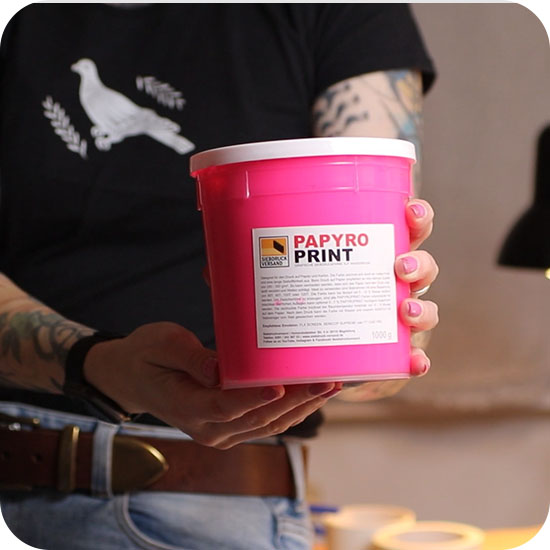
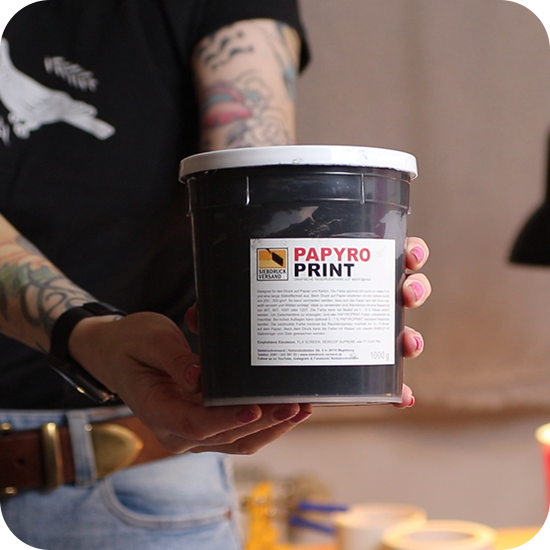
• Inks neon pink and black, waterbased and made for paper
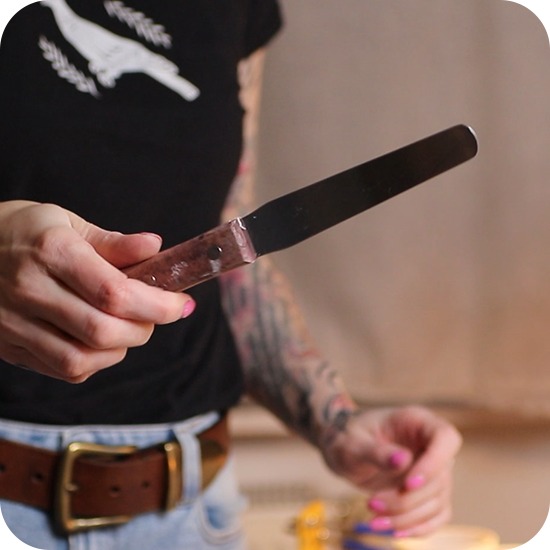
• Spatula to stir ink and to apply it to the screen
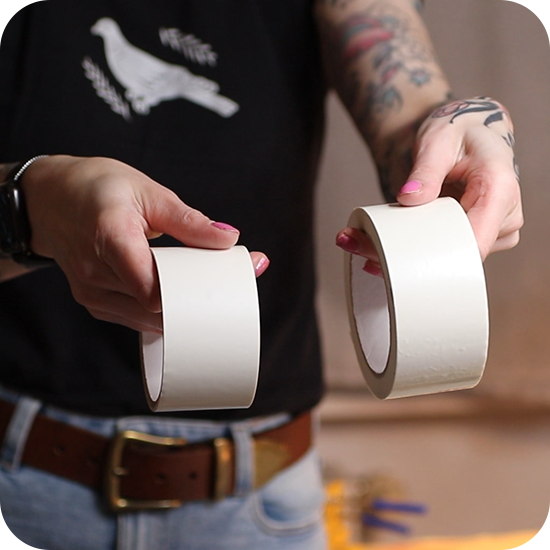
• Screen tape to block off open areas on the screen
• Tack spray to keep the paper from slipping
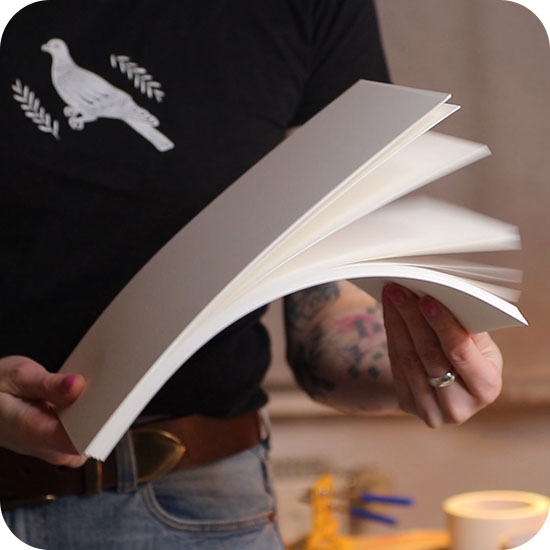
• Paper FABRIANO® Unica 250g
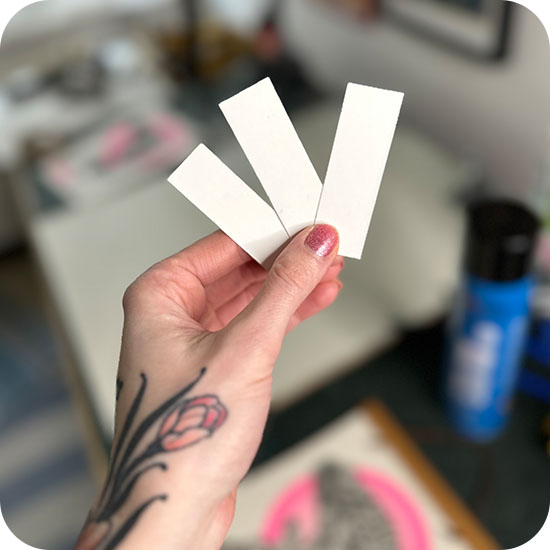
• Registration strips to line up the paper
and a few extra helpers:
• Kitchen scraper to remove ink from the screen (just a super versatile tool)
• Squeegee holder to hold it in place when not in use
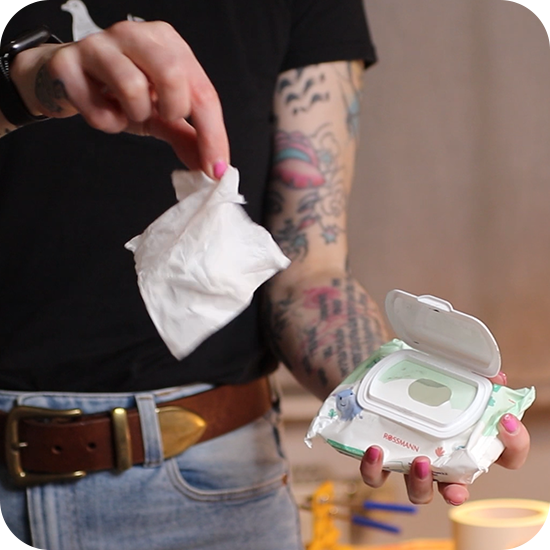
• Baby wipes to clean hands from ink
• PVC foil to help register the second color more accurately
3. Registering the paper
Before I can start printing I need to prepare a few things. I start with the paper position. I want all my prints to land in the exact same spot on each sheet of paper. This is important even more for multi-color prints, unless you’re into wild, misaligned, experimental look, which is also great.
My design is A4 and I’m also printing on A4 paper. I’m still testing different types, but for this one I went with Fabriano Unica 250g. It’s a lovely printing paper with a bit of texture and takes the ink really well. Since it came in giant sheets (thanks, Gerstaecker), I cut it down to size well in advance.
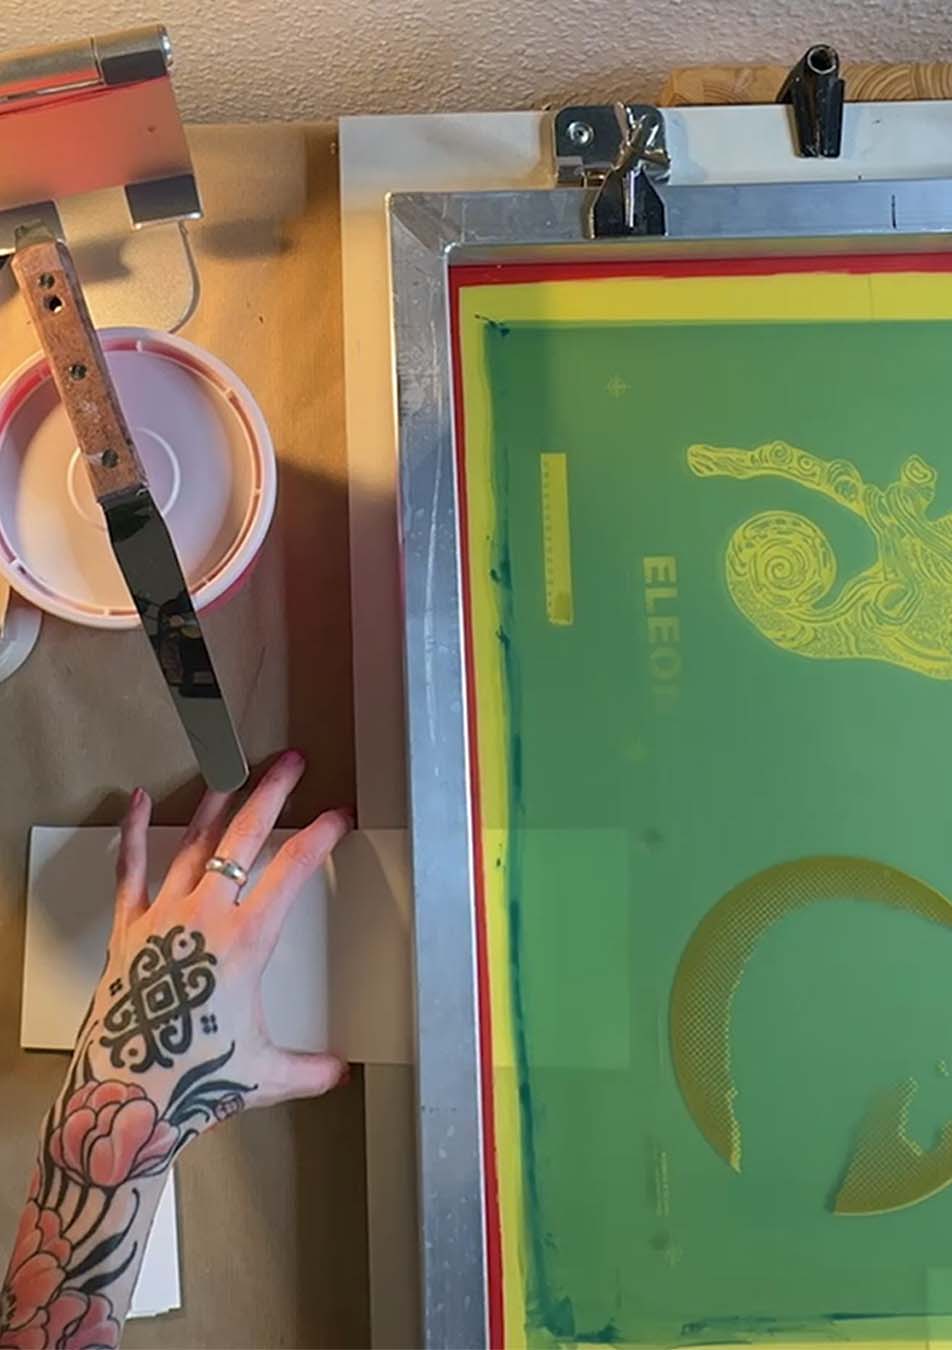
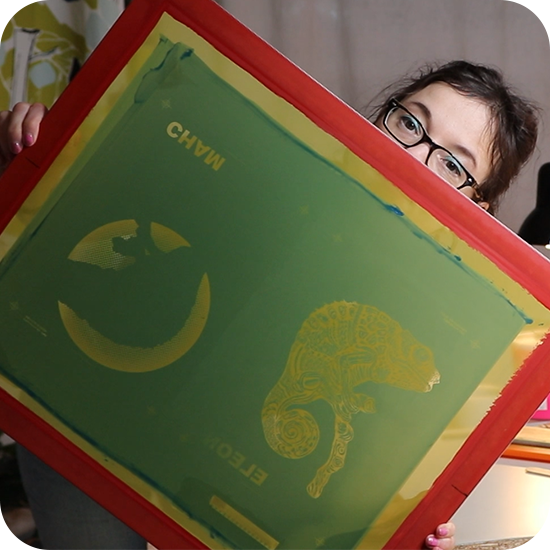
My chameleon design is separated into two colors, neon pink and black. I created one stencil for each color and exposed both onto the same screen, since they fit side by side. That means I’ll print one color first, then flip the screen around to print the second color using the other stencil.
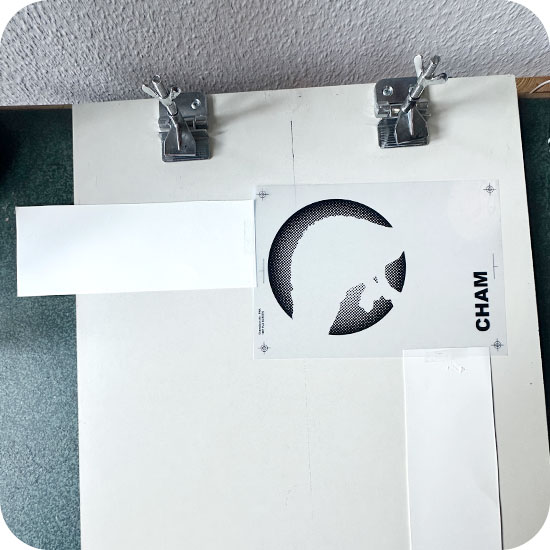
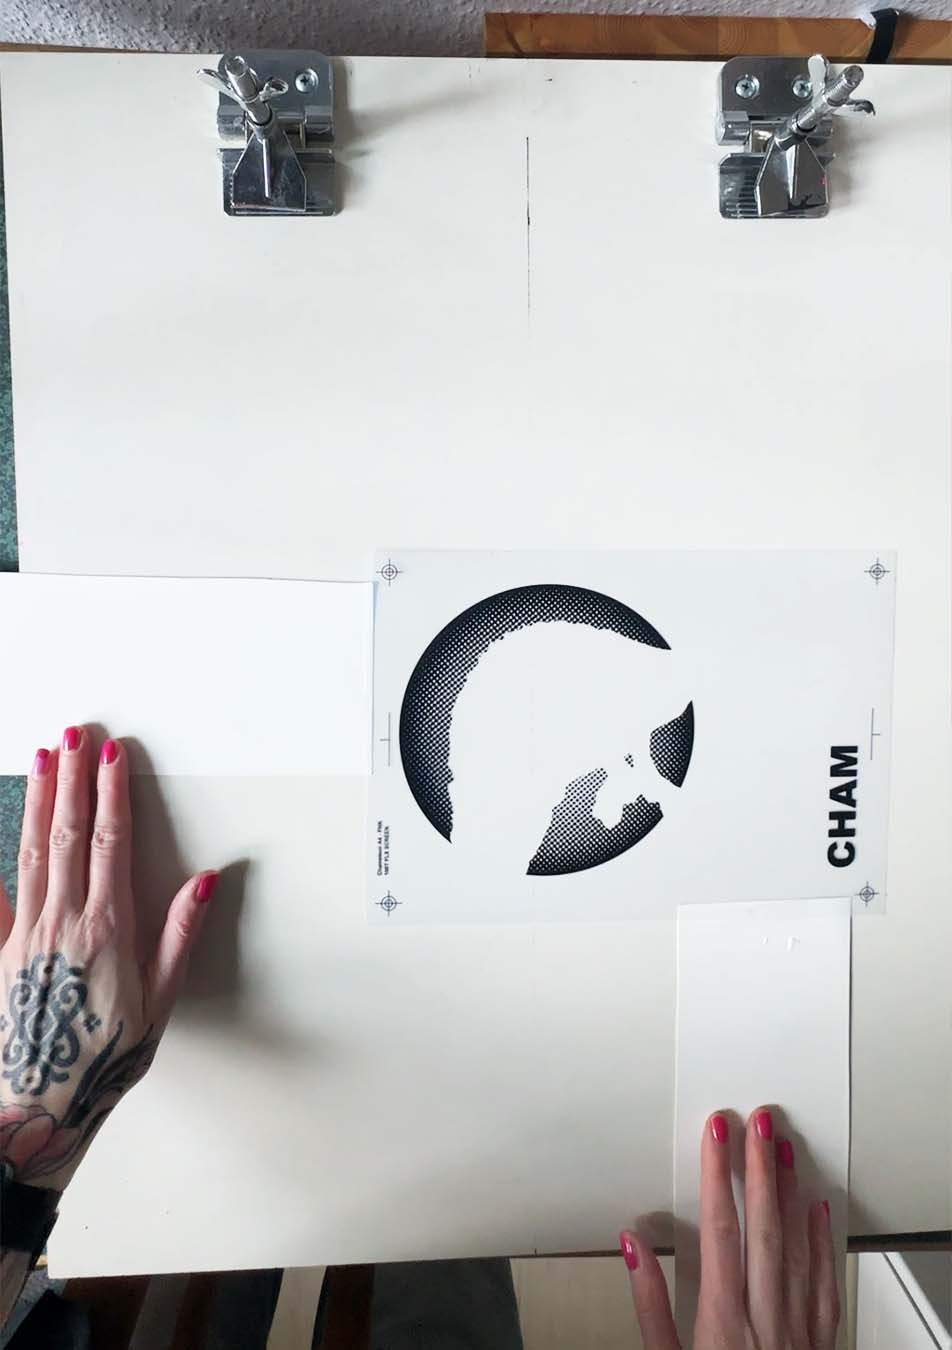
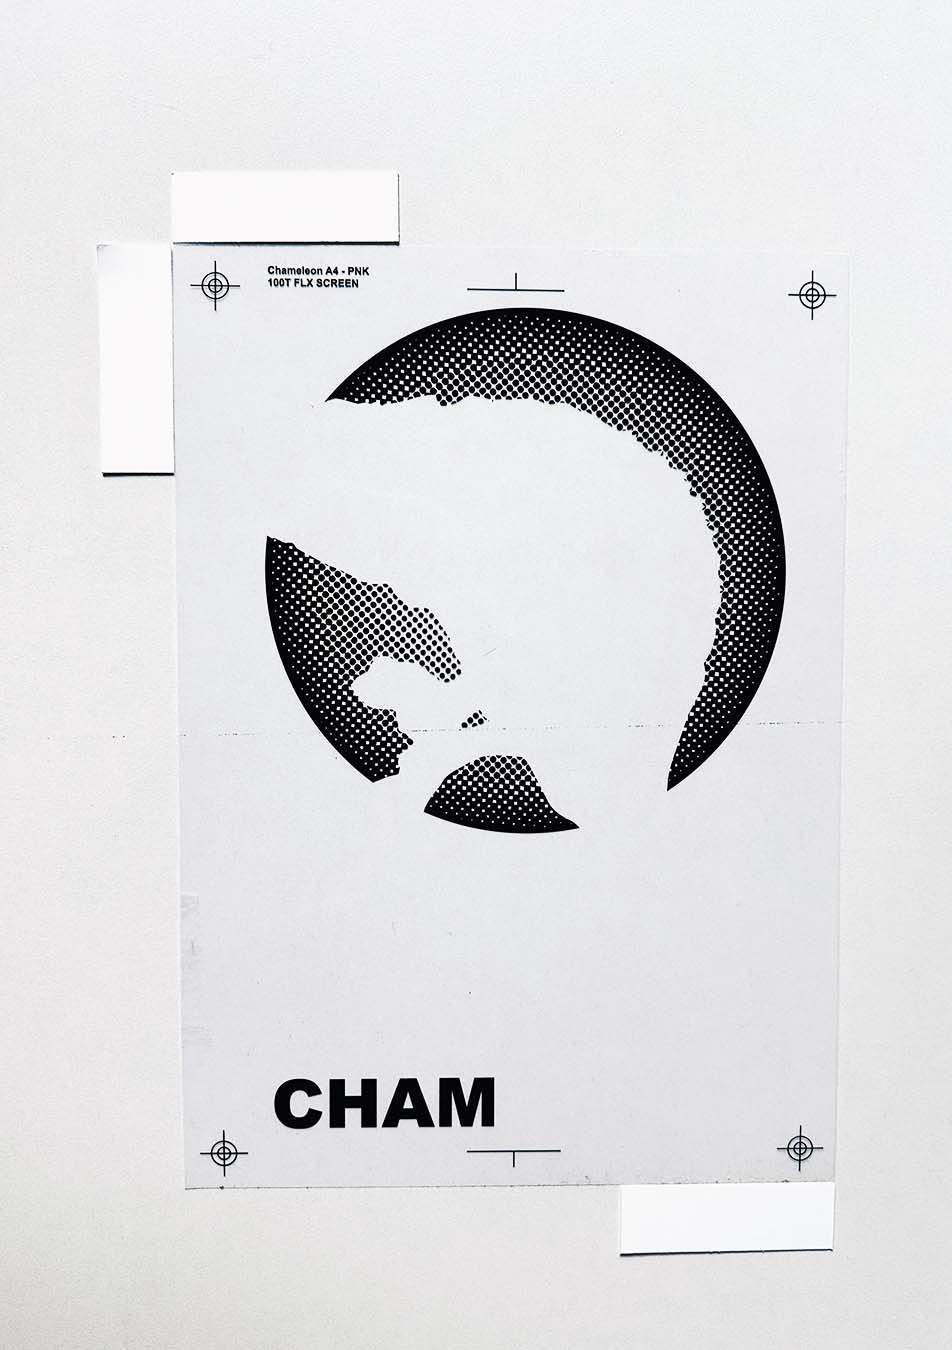
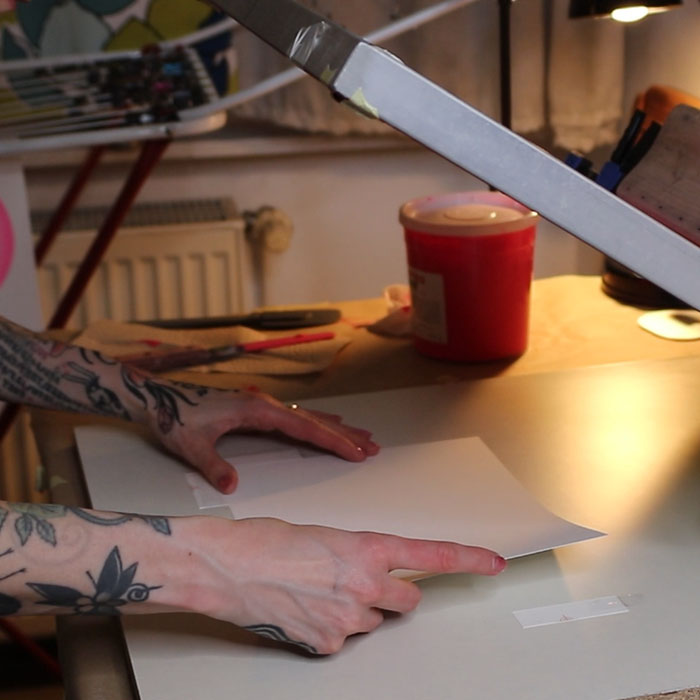
I want to print the lighter color first, so I begin by registering the paper for the neon pink stencil. To help with that, I reuse the same printed film I used during exposure (see image above). I place it under the screen and try to match the registration marks on the film with those on the screen. The emulsion is slightly transparent, so I can see through the mesh to align things properly.
I add two big paper strips to the left and bottom of the film to help guide it by hand. I move the film around until things line up, pressing the mesh down with my fingers to double check. Once I’m happy with the position, I lift the screen and tape three registration strips (pre-cut from thicker paper) around the film to lock it in place.
Since the film is also A4, it matches the final paper size. Now I know exactly where to place the paper for each print. No guesswork, no chaos. Well, just less chaos.
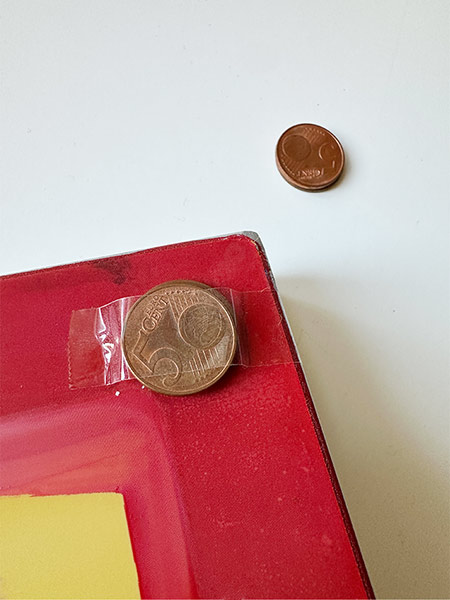
3 mm off-contact height: For printing on paper, I use a 3 mm off-contact height. This little gap between the screen and the paper helps the ink snap off cleanly after printing, which keeps the lines sharp and crisp. It’s one of those things you can play around with, but 3 mm has worked well for me so far.
The hinge clamps already give me about 3 mm of off-contact, at their end. But at the front end of the screen (my side), that gap is missing. To fix this, I tape two 5-cent coins (stacked) to each side of the screen border. Now it´s even.
Also, I register the paper with the off-contact already in place, so nothing shifts later.
4. Taping off the screen
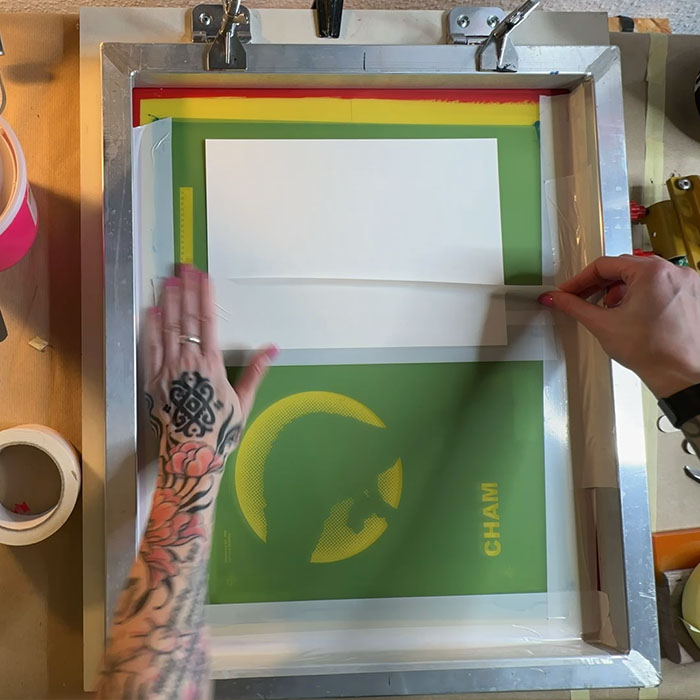
If you look at the screen, the green areas are the hardened emulsion, no ink gets through there. The yellow parts are the open mesh where the ink will pass. On the sides, I don’t want any ink coming through, so I tape them off with screen printing tape.
When I print, the squeegee runs over some of these taped spots again and again. Sometimes the tape lifts a little from the pressure, and ink starts sneaking through tiny cracks. That’s why I started taping the bottom side of the screen too.
I could avoid all this if I just stopped squeezing two stencils onto one screen and gave myself more space at the edges. But hey… I like living on the edge, literally.
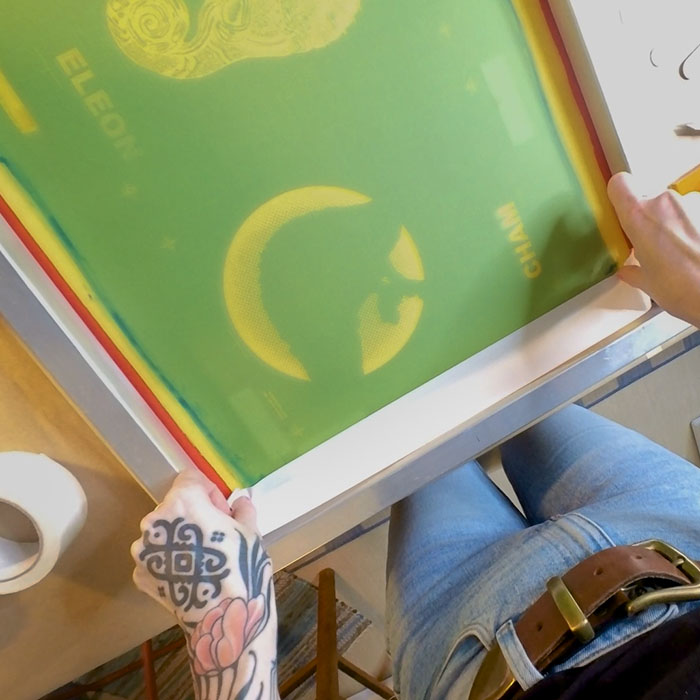
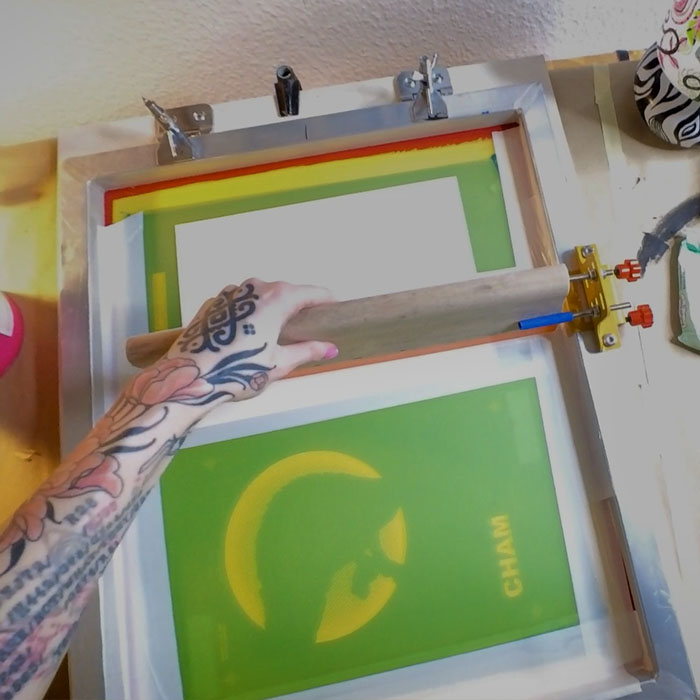
When I’m done taping, I also attach the squeegee holder to the frame. It gives me a spot to rest the inky squeegee while I’m not using it, which is pretty useful with this basic print table (see image belo). Else you can always rest it on a soup can or something similar. :P
5. Getting ready to print the first color
Everything’s now set up. As mentioned, I’ll start with the lightest color first: neon pink. The ink I’m using is made for paper (for fabric, you’d need fabric inks). I can choose between waterbased and plastisol inks, both have pros and cons.
So far, I’ve only used waterbased inks because they’re easier to clean and more eco-friendly. The downside is that they can dry in the screen and clog the mesh if I work too slowly, especially in rooms with low humidity. I’ve managed to avoid most issues, even with runs of up to 50 prints, by spraying a fine mist of water above the flooded screen every 10 prints or so, just one or two quick pumps from about 20 cm away.
You can also mix in a screen printing retarder to slow down the drying time if needed. I have not tried this myself though as I heard it will also reduce the opacity of inks a little.
How to keep the paper in place
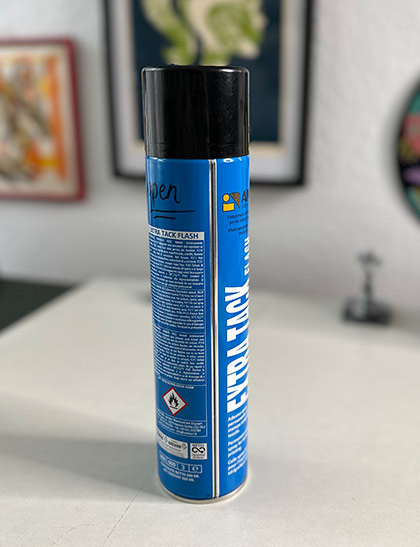
I spray a little tack spray onto the printing board from about 20 cm away. This keeps the paper from sticking to the screen when printing. It usually lasts for 10–15 prints (depending on the paper), then I spray again a little. Don’t worry, except for the first 1-2 prints, the spray won’t stick to your paper.
I’m not a huge fan of tack spray since it goes everywhere and makes cleanup a pain. After a print session, I have to clean the board with an adhesive remover (the kind you’d use to get rid of sticker residue)
In pro setups they use vacuum tables, but that’s not an option here. If you know a better method, I’d love to hear it!
My brain keeps going places, but let’s stay focused, back to printing PINK.
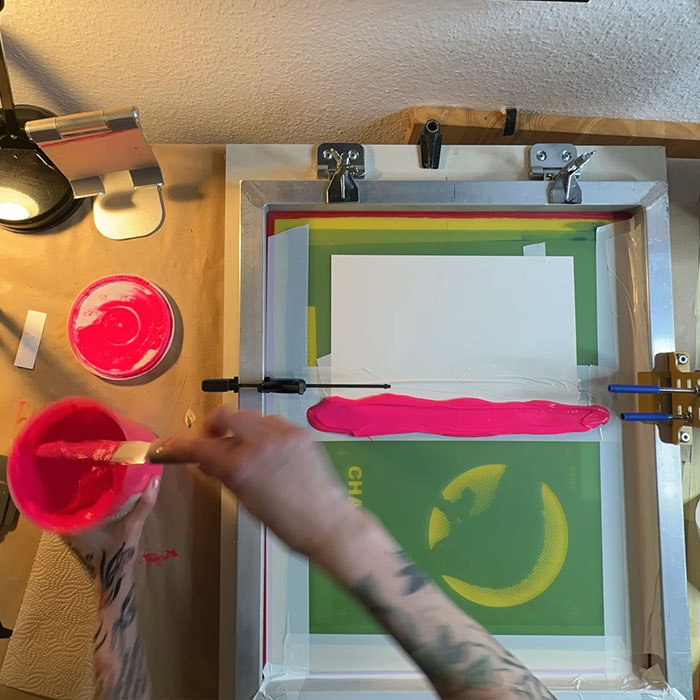
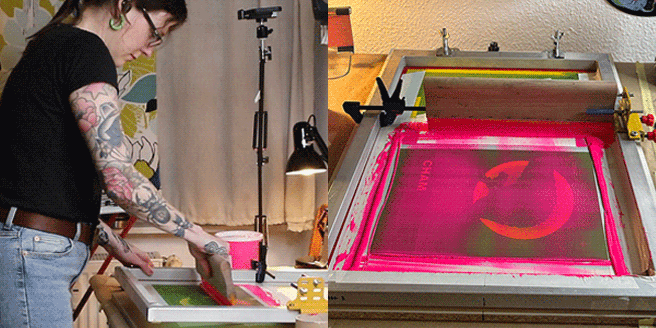
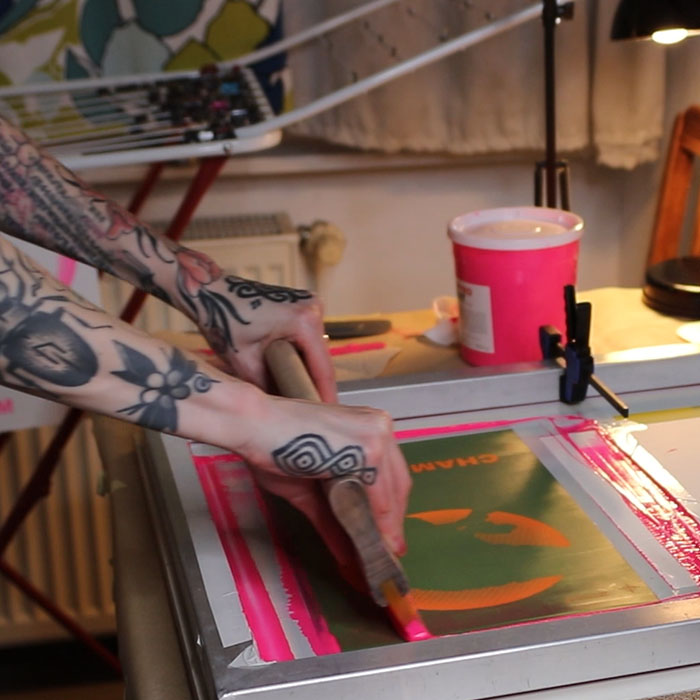
I place the paper under the screen and stir the ink in the pot with a spatula. Then I apply a good amount of ink above the design on the screen, in a long line that’s at least as wide as my squeegee. And the squeegee should be about 1–2 cm wider than my design on each side. My squeegee is 35 cm, which perfectly covers the long edge of my A4 stencil and helps with even ink coverage.
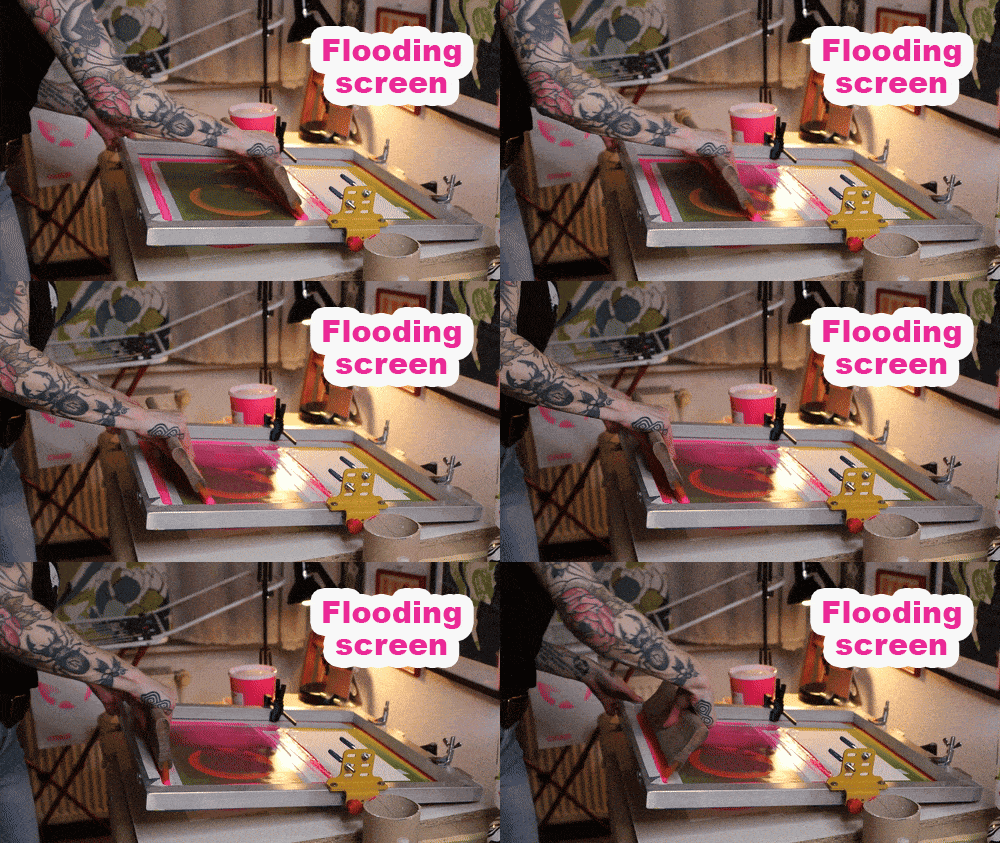
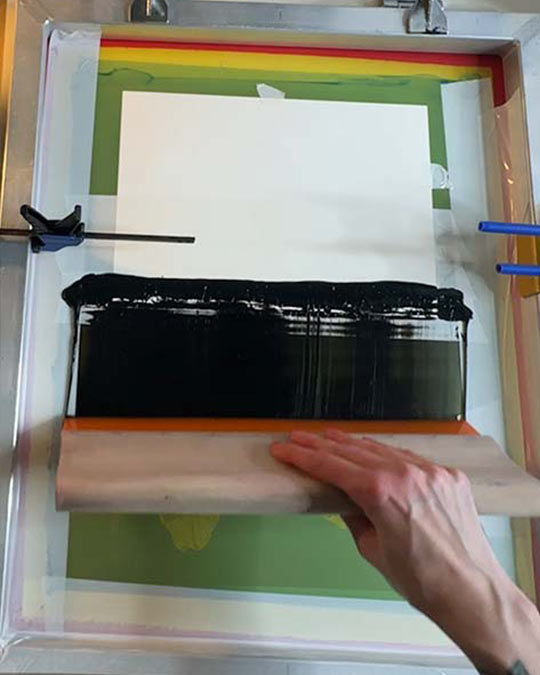
Next, I lift the screen a little and flood the stencil by pulling the ink with the squeegee across the screen gently, without pressure. This spreads a thin layer of ink across the mesh, but none goes through yet.
Flooding the screen
Coat the stencil with ink before printing by lifting the screen with one hand and gently pulling a layer of ink (without pressure) across the mesh with the squeegee in the other hand. This helps keep the ink from drying in the mesh. The usual rhythm is: flood, print stroke, flood again.
Then I lower the screen, place the squeegee above the design at about a 45° angle, and pull it across with slight pressure, just enough for the mesh to touch the paper. Since the pink is a light color, I do two strokes for better coverage.
Printing (squeegee) stroke
Put the screen down. Hold the squeegee with both hands and firmly press it against the mesh and pull it across the stencil in one smooth motion at approx. a 45° angle. This pushes the ink through the open areas of the screen onto the paper.
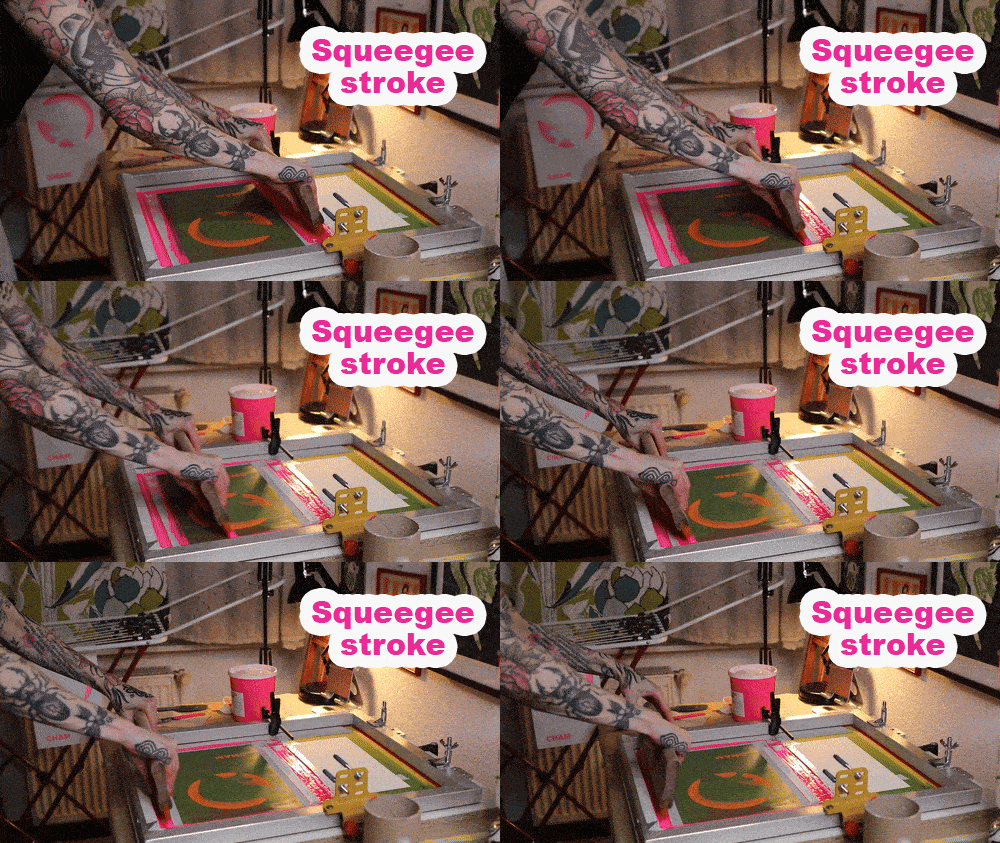
After that, I lift the screen again and flood it one more time to keep the ink fresh. So: flood, print stroke, flood.
Getting the flood and stroke right took some trial and error. If the angle is too flat, too much ink can come through and smear. If it’s too steep, not enough ink makes it through for good coverage. Holding a steady angle during the pull is also important. Speed and off-contact height also play a role in how it all comes together I think.
First print is done. If it looks good, I tape off the registration marks on the screen (from the bottom) using screen printing tape again. I only need one copy with printed marks as a setup sheet to register the second color later.
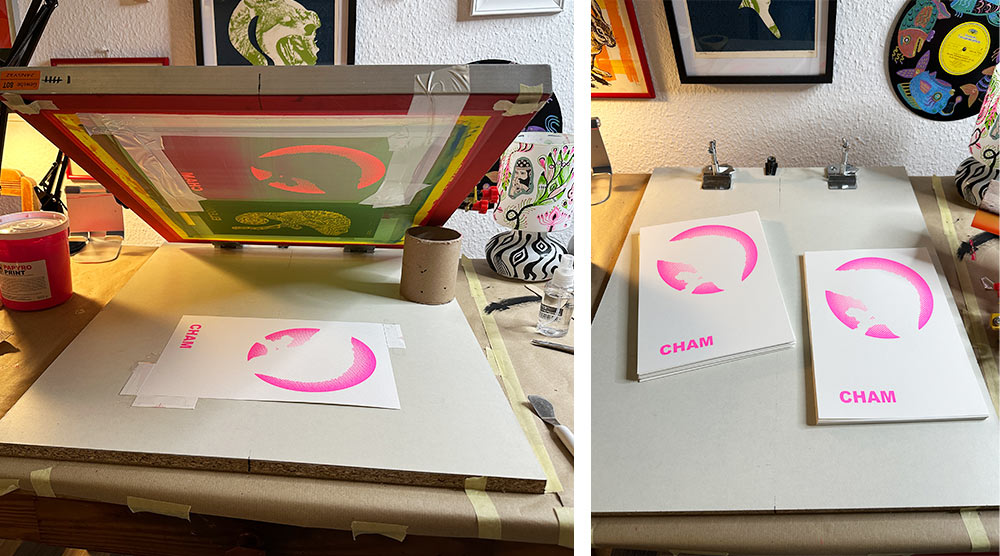
After printing a good stack of neon pink, I’m ready for the second color: black. But first, I need to wash out the screen and my tools in the bathtub, using water, a bit of soap, and a sponge. I do this right after printing so the leftover ink doesn’t dry in the mesh. Once it’s dried, cleaning becomes way harder.
By the way, I use a kitchen scraper to remove as much leftover ink from the screen as possible and scrape it back into the pot. No need to waste ink. You can see a short video on my YouTube here:
Also, in between the print sessions I take a longer break to eat something or go for a walk. So when I am back the prints have already dried.
The watebased inks dry fast on the paper. Depends of course on my room temperate and humidity. I usually hang them on a laundry rack for an hour before stacking them on top of each other for the next print run.
6. Printing the second color
The cleaned screen is dry and ready, so I mount it back onto the printing board. I tape off all open areas again, except for the stencil of the black layer, which stays open this time.
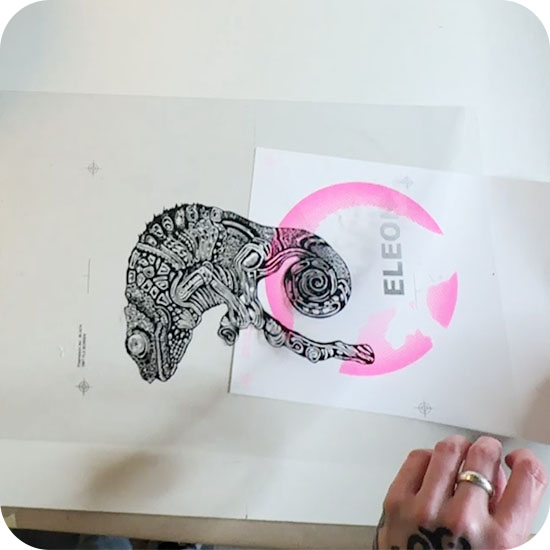
The only thing that changes now is the registration of the second color with my setup sheet from the first print session.
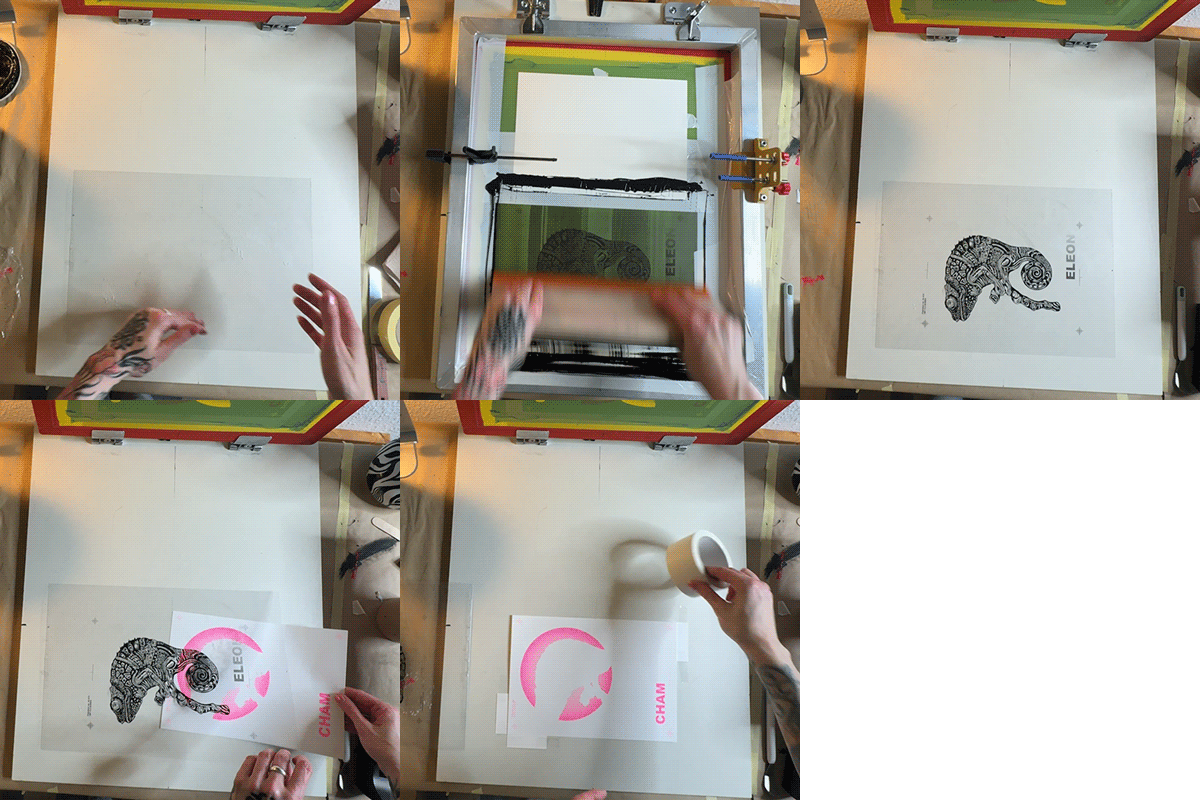
Registering with 2mm transparent PVC foil:
I tape one side of this A3 sized foil (from Modulor) to the board and print the first black layer, including registration marks, right onto the foil. I flood the screen twice to keep the ink fresh while I align. Next, I slide my setup sheet from the previous print beneath it and line up the marks with those on the foil. Once aligned, I flip the foil away and fix the the position of the setup sheet with my 3 registration strips. Paper position is set! What´s nice that I can reuse this foil by washing the ink off with water. At last I tape off the marks on the screen and I’m ready to print!
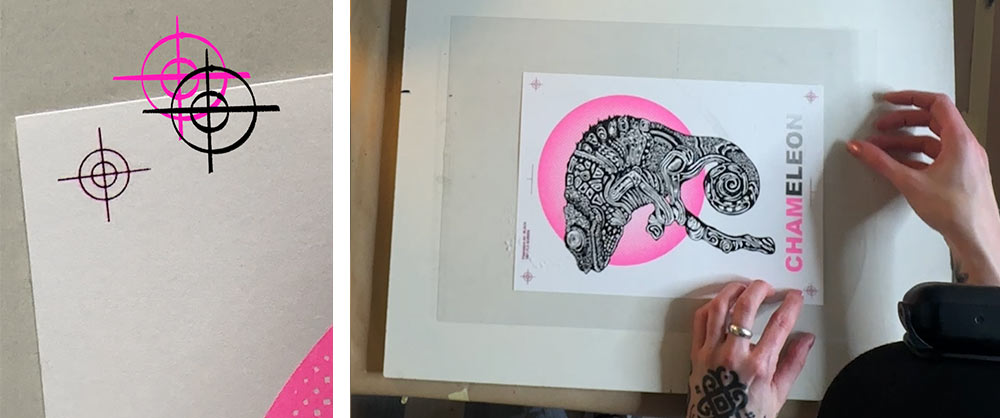
I’m always a bit nervous the ink will dry in the screen while I’m doing the registration. Sometimes I don’t get the alignment right away, and it takes a few minutes. There have even been times when two of the marks line up perfectly, but the other two don’t and I have no freaking clue why. Maybe the setup paper shrank slightly in the meantime, or something else happened. I dunno. I’m still practicing this part too.
What helps a bit with reducing misalignment is building slight overlaps into the design itself. For this print, I extended the pink areas at the edges of the inner circle so the black layer could print right over them. That way, small shifts won’t be noticeable.
And sometimes those misalignments are also wanted and make things look even more interesting, handmade and unique.
One difference when printing the black compared to the pink is that I only need to do one print stroke. The black is already opaque enough after one pass.
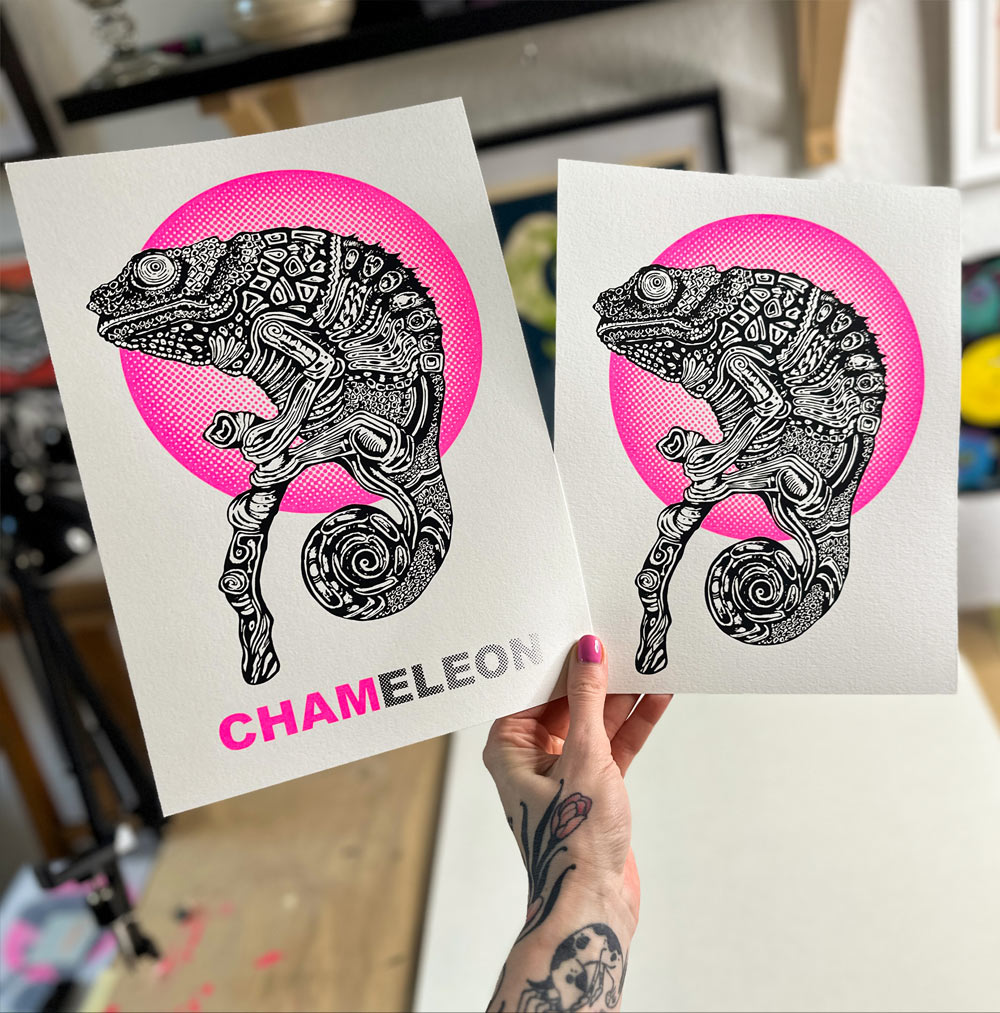
Here is the final result!
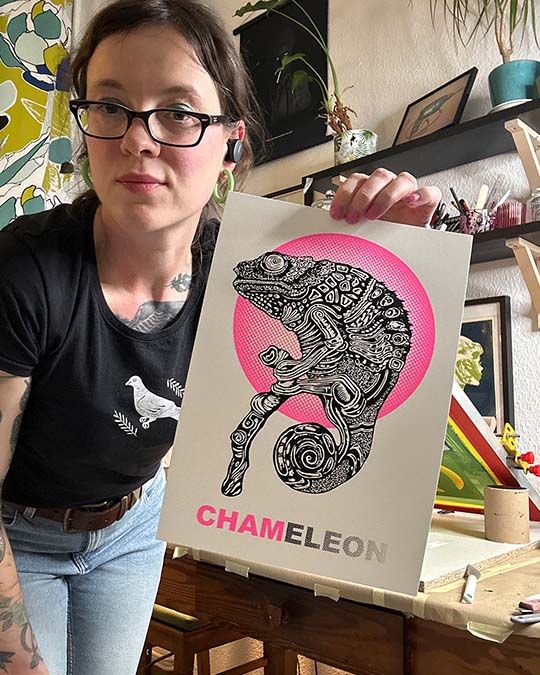
Final prints
There were quite a few steps and a lot of prep involved in creating this screen print. I hope you enjoyed following along with the handmade process.
If you’re interested in the print, you can find it in my Etsy shop. I also made a version without the “chameleon” text. That wasn’t the original plan, but I ended up with enough misaligned prints where “cham” and “eleon” drifted too far apart, so I simply cut the text off. Happy little accidents! Maybe some people even prefer this version. :)
If you’re curious how I created the stencil for this chameleon, check out my last blog post.
Most supplies you saw in the blog post I got from Siebdruckversand.
Something I saved for last, I also made a YouTube video on this exact printing process. Many of the images you see here are from that video. It´s in german, but I uploaded english subtitle so you can turn that on and I hope it´s kind of accurate. :P
Upcoming blog post: Not sure yet,maybe I’ll show you some of my test prints that turned out more interesting than expected.
Newsletter Update: I’m planning to sit down and build it tomorrow. With a bit of luck, I’ll send it out in the next few days. If you want to be sure to get it, you can sign up here: "monthly" newsletter.
New press: I treated myself to a simple screen printing press. You can watch a short YouTube video of me assembling it here. I’m planning to try some fabric printing with it, but I’m also curious how it’ll work for paper printing, maybe even as an alternative for the board you saw in this post. Whether that works or not… might be a story for another blog.


