
Reclaiming screens at home – Making space for new prints
New screen printing ideas are on the way, but before I can start, I need to clear out the old designs. This process is called “reclaiming”, which I found a bit confusing when I first heard it. Why not just call it “uncoating”? Makes more sense since you coat the screen with emulsion and later remove it. In German, we say “Beschichten” (coating) and “Entschichten” (uncoating), which feels a lot more straightforward. But anyway…
Why Reclaim Screens?
I could, in theory, keep all my screens as they are and reuse them if a print sells out. But realistically, that’s not happening too often (yet – still hopeful). Plus, I don’t have unlimited storage space. I can keep about six screens in my bedroom, so at some point I have to reclaim them for new designs. On the bright side, reclaiming means a fresh start. If you want to see the process in action, there’s a video at the bottom of the page.


Screen Printing: Figuring It Out as You Go
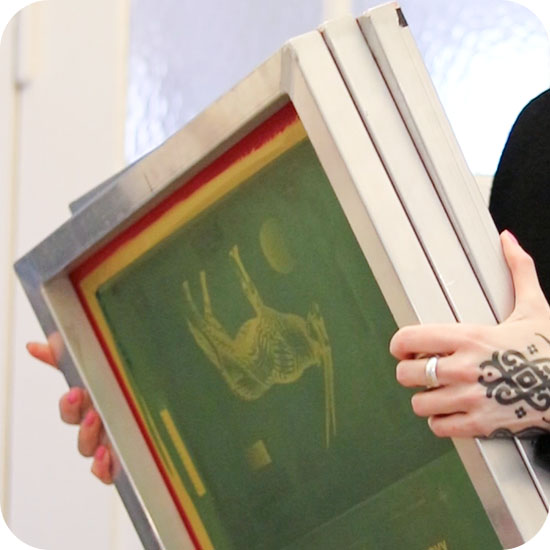
Understanding the full process of screen printing (coating, exposing, reclaiming) can feel a bit complicated at first. At least, that’s how it was for me. Perhaps it´s not rocket science, but it’s definitely some kind of science, and there’s a long learning curve.
A lot of things affect a lot of other things. You have to think about temperature, humidity, exposure time, the distance between the light and the screen, the type of emulsion, the screen mesh… the list goes on. And even when you think you’ve done everything by the book, something still goes wrong. Then it’s time to play true detective and figure out what happened.
That’s just part of the process, and I wouldn’t stress too much about it. If I had focused on every little thing that could go wrong, I probably would have never started. So if you’re thinking about trying it, if you feel the urge, the drive, just go for it. Start with the first step and figure out the rest as you go.
Products I Use for Reclaiming
Here’s what I use to clean and reclaim my screens:
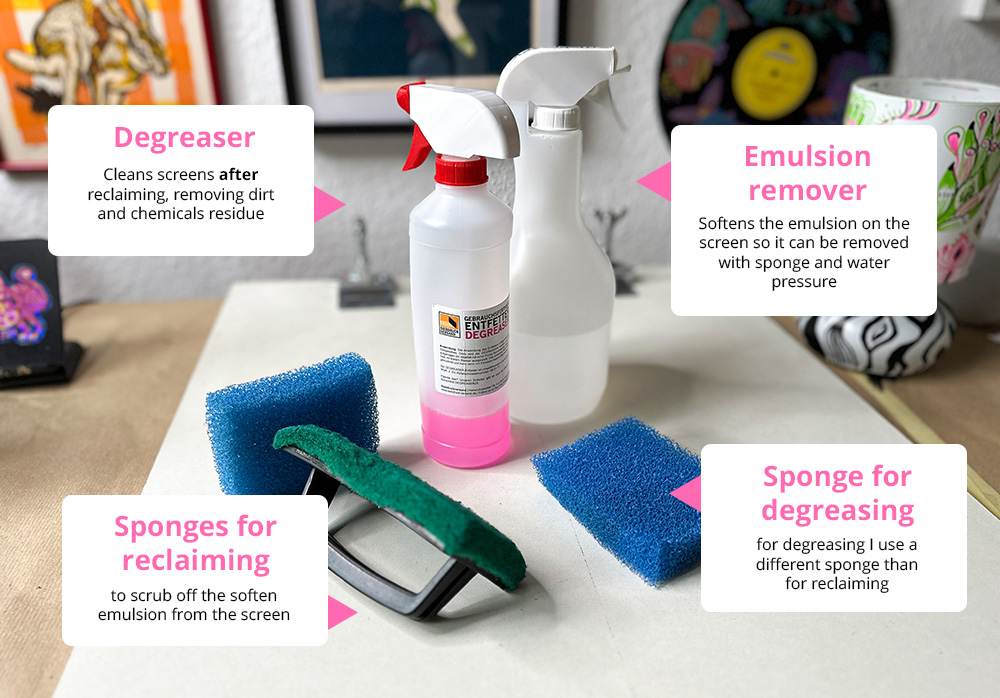
I got all of this from the German supplier Siebdruckversand. The products I use for reclaiming are not toxic, don’t require any special labeling, and can be rinsed down the household wastewater in small amounts. I had this confirmed by the seller, just to be sure. Another big plus: they ship super fast. You order today, and they send it out tomorrow. I’ve mentioned in another blog that they also put out a lot of tutorials for beginners, which helped me a lot getting into screen printing. So if you’re curious, definitely check out their website and YouTube channel.
So first I prepare my bathroom. I remove everything that should not get dirty, I clean and vacuum the floor. I put the screen in my bathtub and water it from both sides. The screens have aluminum frames. If you just put it in the bathtub and move it around the chance is high you get scratches in the tub. To avoid this I use old towels as protection.
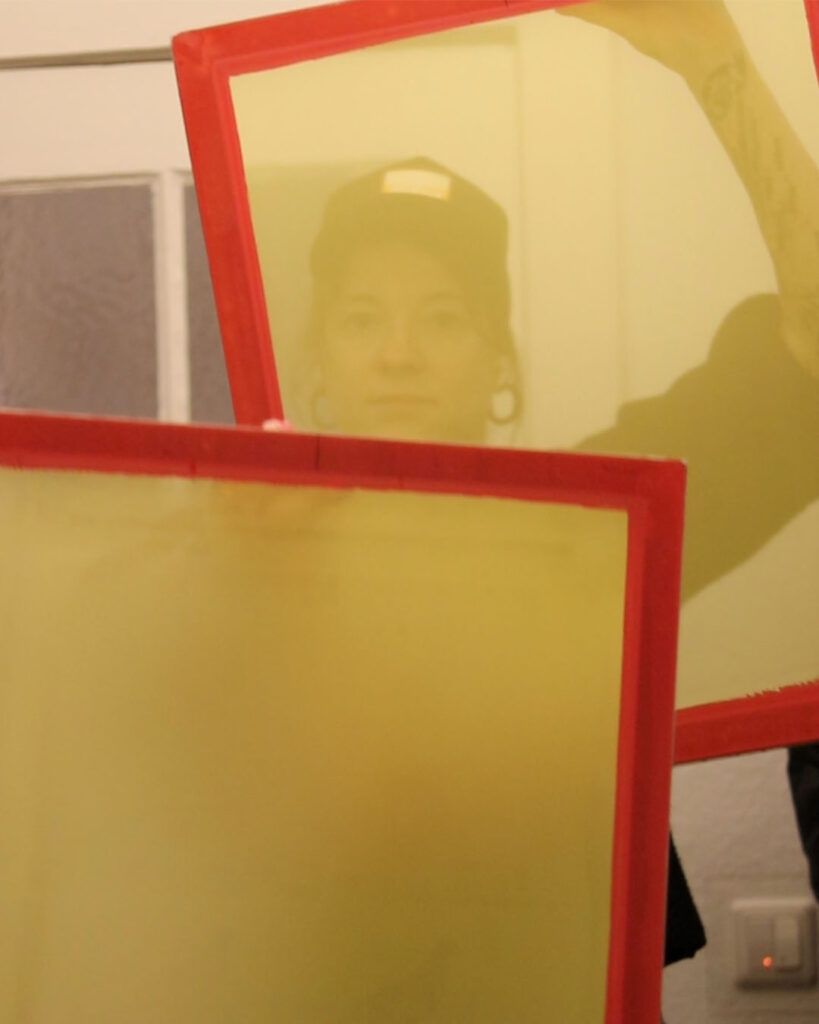
I take out my emulsion remover bottle and spray my screen from both sides with it. I let the screen sit like this for approximately five minutes so the emulsion can soften up. I have extra sponges that I use to scrap out the emulsion from the mesh. I do this in circle moves and with good pressure from both sides.
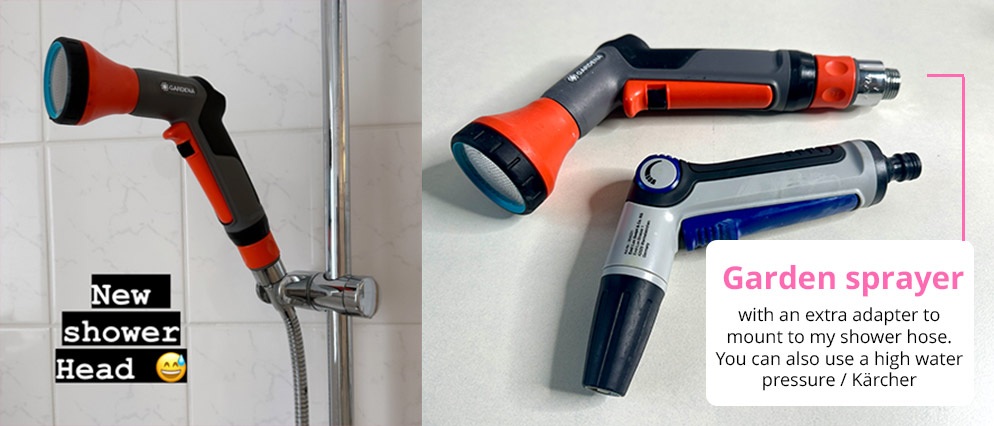
Once that is done I use higher water pressure to clean out the emulsion completely. For that I replace my shower head with a garden sprayer. With an extra adapter I can directly mount it to my shower hose.
I think most pros use a Kärcher/ high water pressure to do this step.

However I like to stick to my garden spayer in my home setting most of the times. I only got my little Kärcher out when I have a really hard time reclaiming and this has only happend 2 times so far.
After my screens are free from emulsion, I usually degrease them. This helps remove any leftover dirt or chemicals that could mess with my next coating. For this, I spray a good amount of degreaser on both sides of the mesh, wait about two minutes, and then rub everything in well with a sponge — not forgetting the corners. Once everything is scrubbed in, I rinse it out thoroughly from both sides, let the screen dry, and store it in a dust-free spot until it’s time for the next coating. Note: Use a different sponge or brush than the one you use for reclaiming. Mixing them up isn’t a great idea.
Also, from this point on: hands off the mesh—especially if you’ve just eaten pizza.
I usually degrease immediately after reclaiming if I plan to use the screen within the next two days. But if it’s going to sit in a corner for weeks, it’ll probably collect dust anyway, so in that case, it’s smarter to wait and degrease shortly before use.
Ghost Images – The Shadows of Prints Past
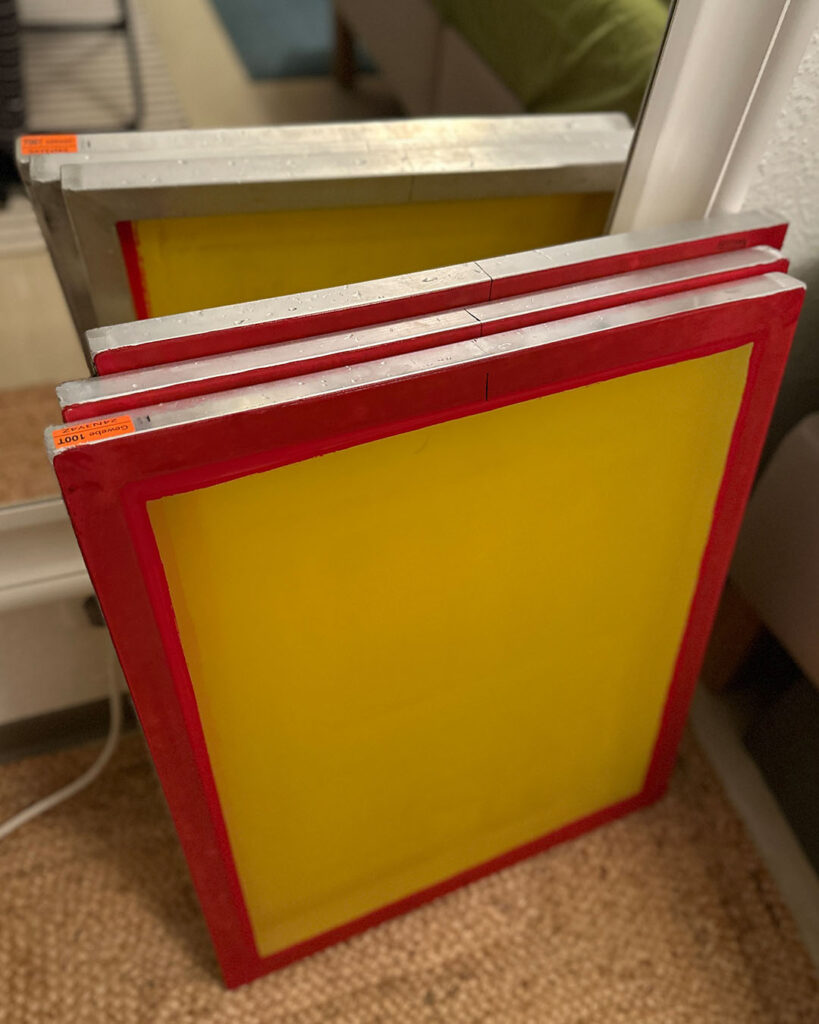
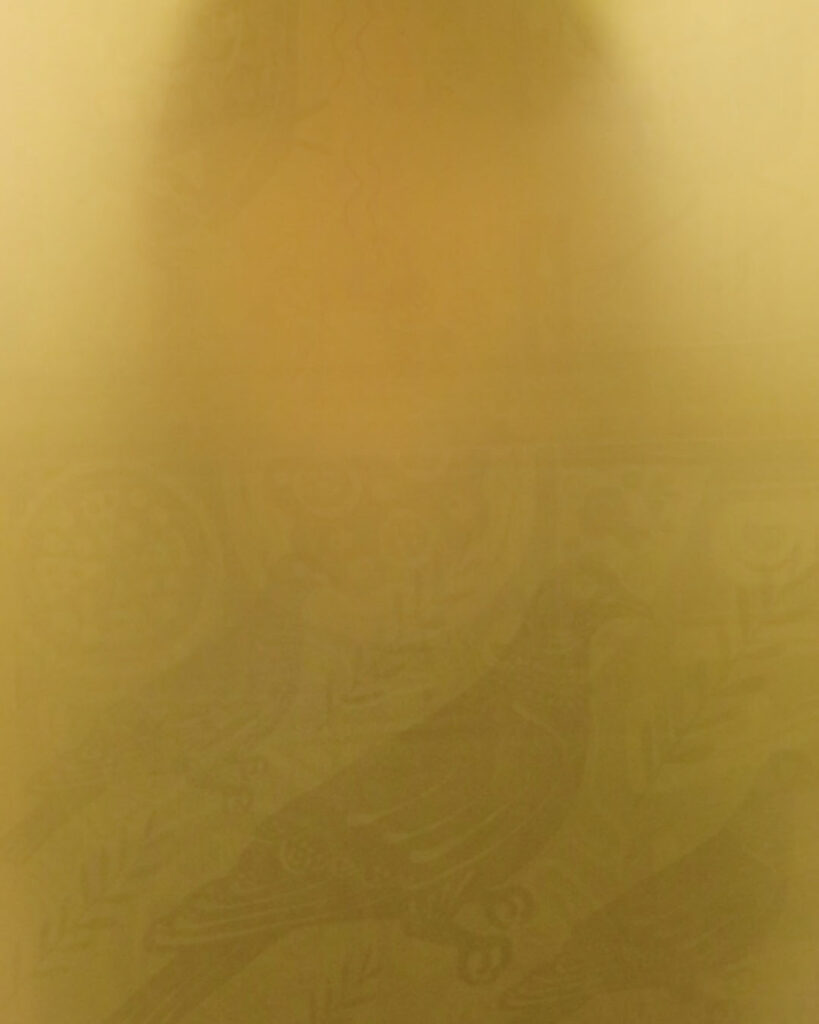
The screens are now as good as new—well, almost. If you look closely at the images, you’ll see ghost images from previous stencils. Those are the thin outlines left behind in the mesh, caused by dyed fibers from the inks that just won’t wash out completely.
As long as it’s just dyed fibers and not an actual blockage in the mesh, it usually doesn’t affect future exposures or prints, at least not for a while. I’ve heard ghost images can be more of a problem with plastisol inks, but with my waterbased inks I coated a screen 7 times so far without troubles.
At some point, if these ghost images keep piling up, they might make registration trickier. When that happens, it’s time for a proper ghost cleaning.
So… who you gonna call?
2 minutes video of my reclaiming process
Upcoming Blogs: My next blog entry will probably be about coating my screen for my chameleon print, and after that, I’ll write about the print process itself. So if you’re curious about how that turns out, stay tuned!
Newsletter Update: As announced in my last post, I’ve finally managed to set up a monthly newsletter! So far, I haven’t sent one out yet because I wanted to collect more content first — but it’s coming soon.
YouTube Plans: Part of focusing more on my art this year I also set up a YouTube channel. Right now, it’s looking very minimalist—aka there’s no content yet—but I plan to occasionally post longer videos. I’m a bit tired of the super-short, 60-second, attention-span-of-a-goldfish TikTok-style clips, so this will be more relaxed and in-depth.


